
First launch: how would you like to start
On first launch the setup wizard opens. The first screen offers three doors. You can change the language right here with the button in the top right corner: the categories the app suggests by default will be in that language too.
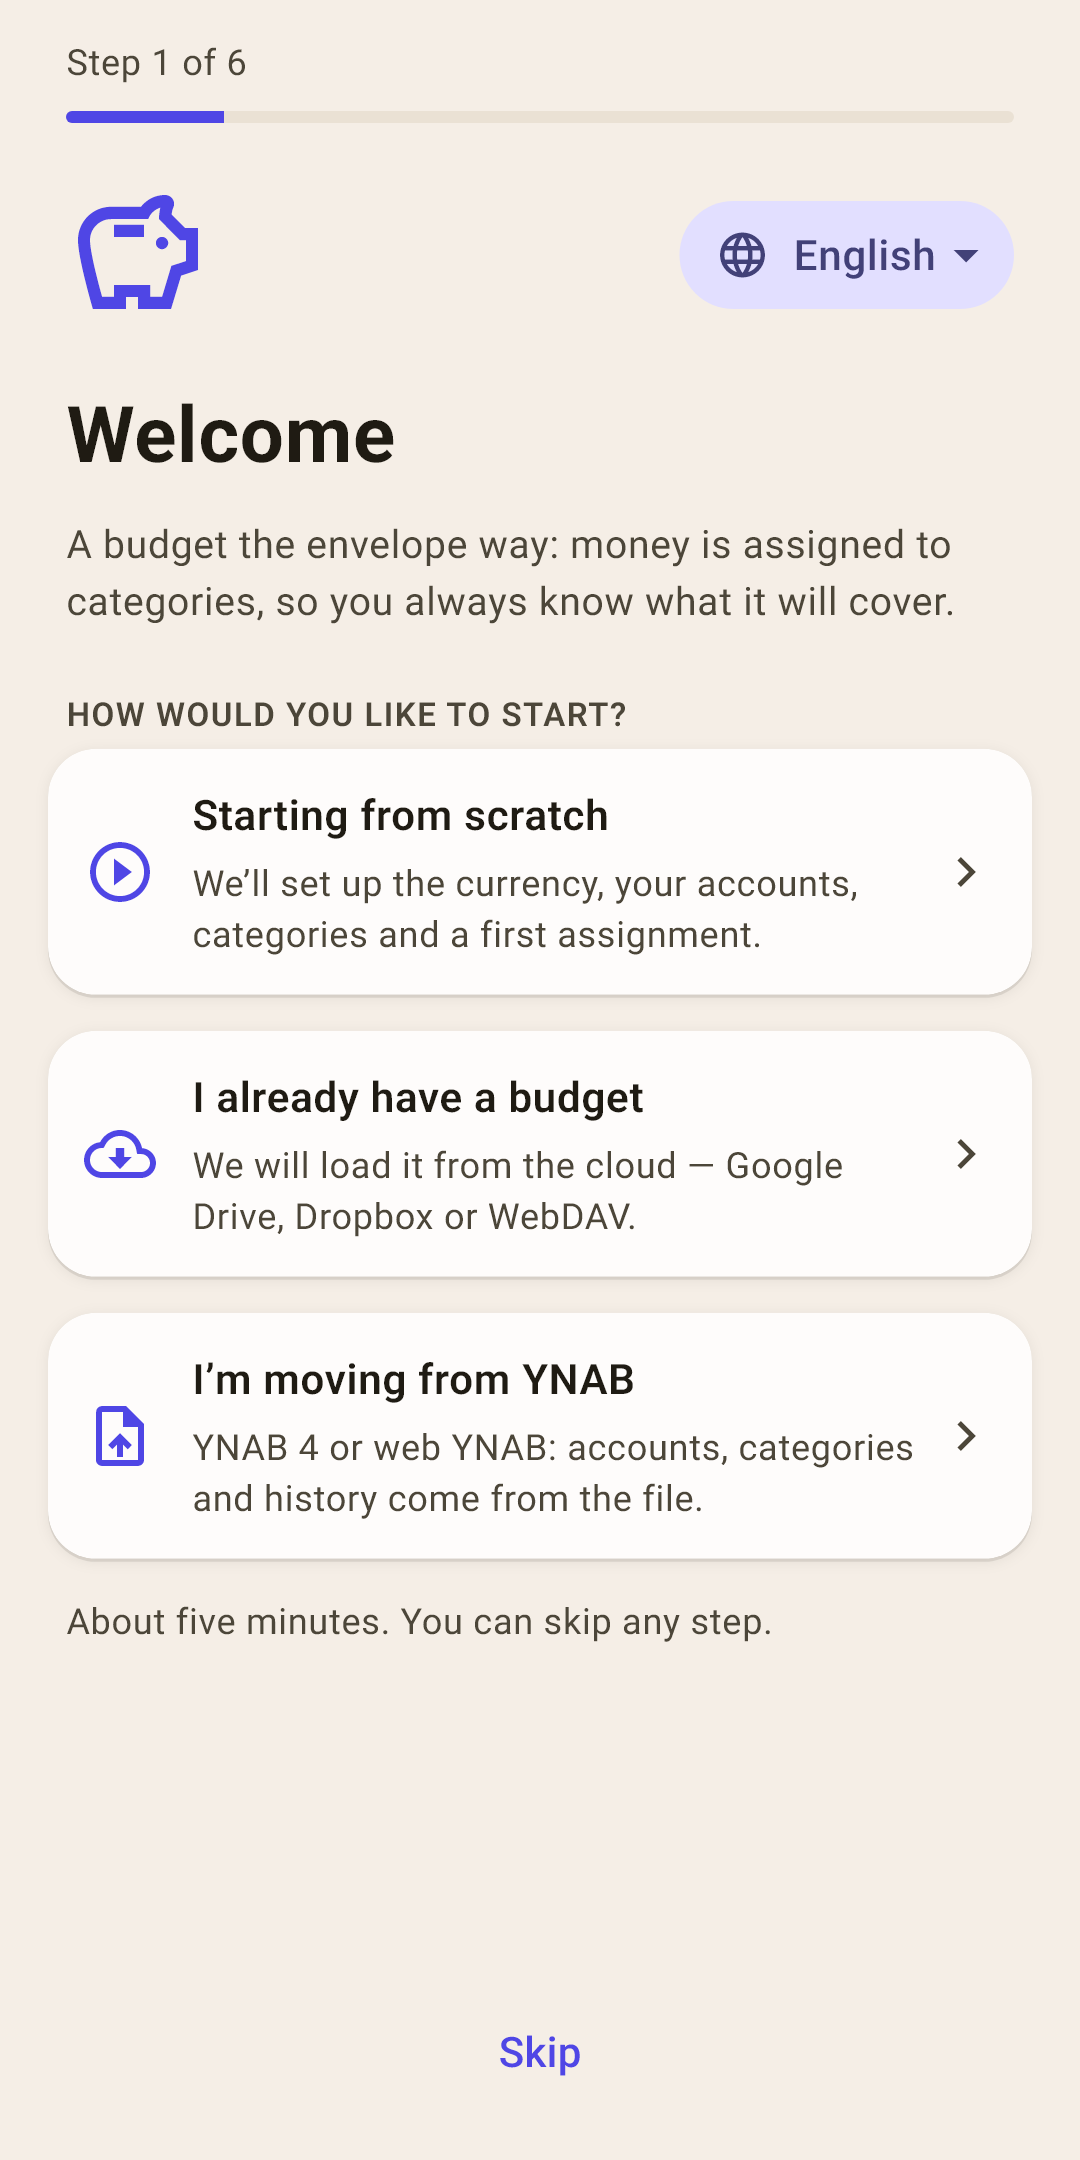
“Starting from scratch”
The wizard walks you through five steps: currency and name, accounts, categories, your first assignment. The steps are explained below.
“I already have a budget”
You've kept a budget on another phone or before reinstalling. The app loads it from the cloud — Google Drive, Dropbox or WebDAV — or from a backup file.
How it works
The name isn't asked here: it comes with the budget and serves as the address of its folder in the cloud.
“I’m moving from YNAB”
YNAB 4 or web YNAB: accounts, categories and history come over from a file.
How it works
First the currency and name, then you pick the export file, and at the end there's a glossary: what each YNAB term is called here. You can open the glossary later too, when importing from settings.
About five minutes. You can skip any step — the “First steps” list on “Overview” will remind you what's left.
Starting from scratch: five steps
At the bottom of each step are “Next” and “Skip”. The system Back button takes you one step back instead of closing the app.
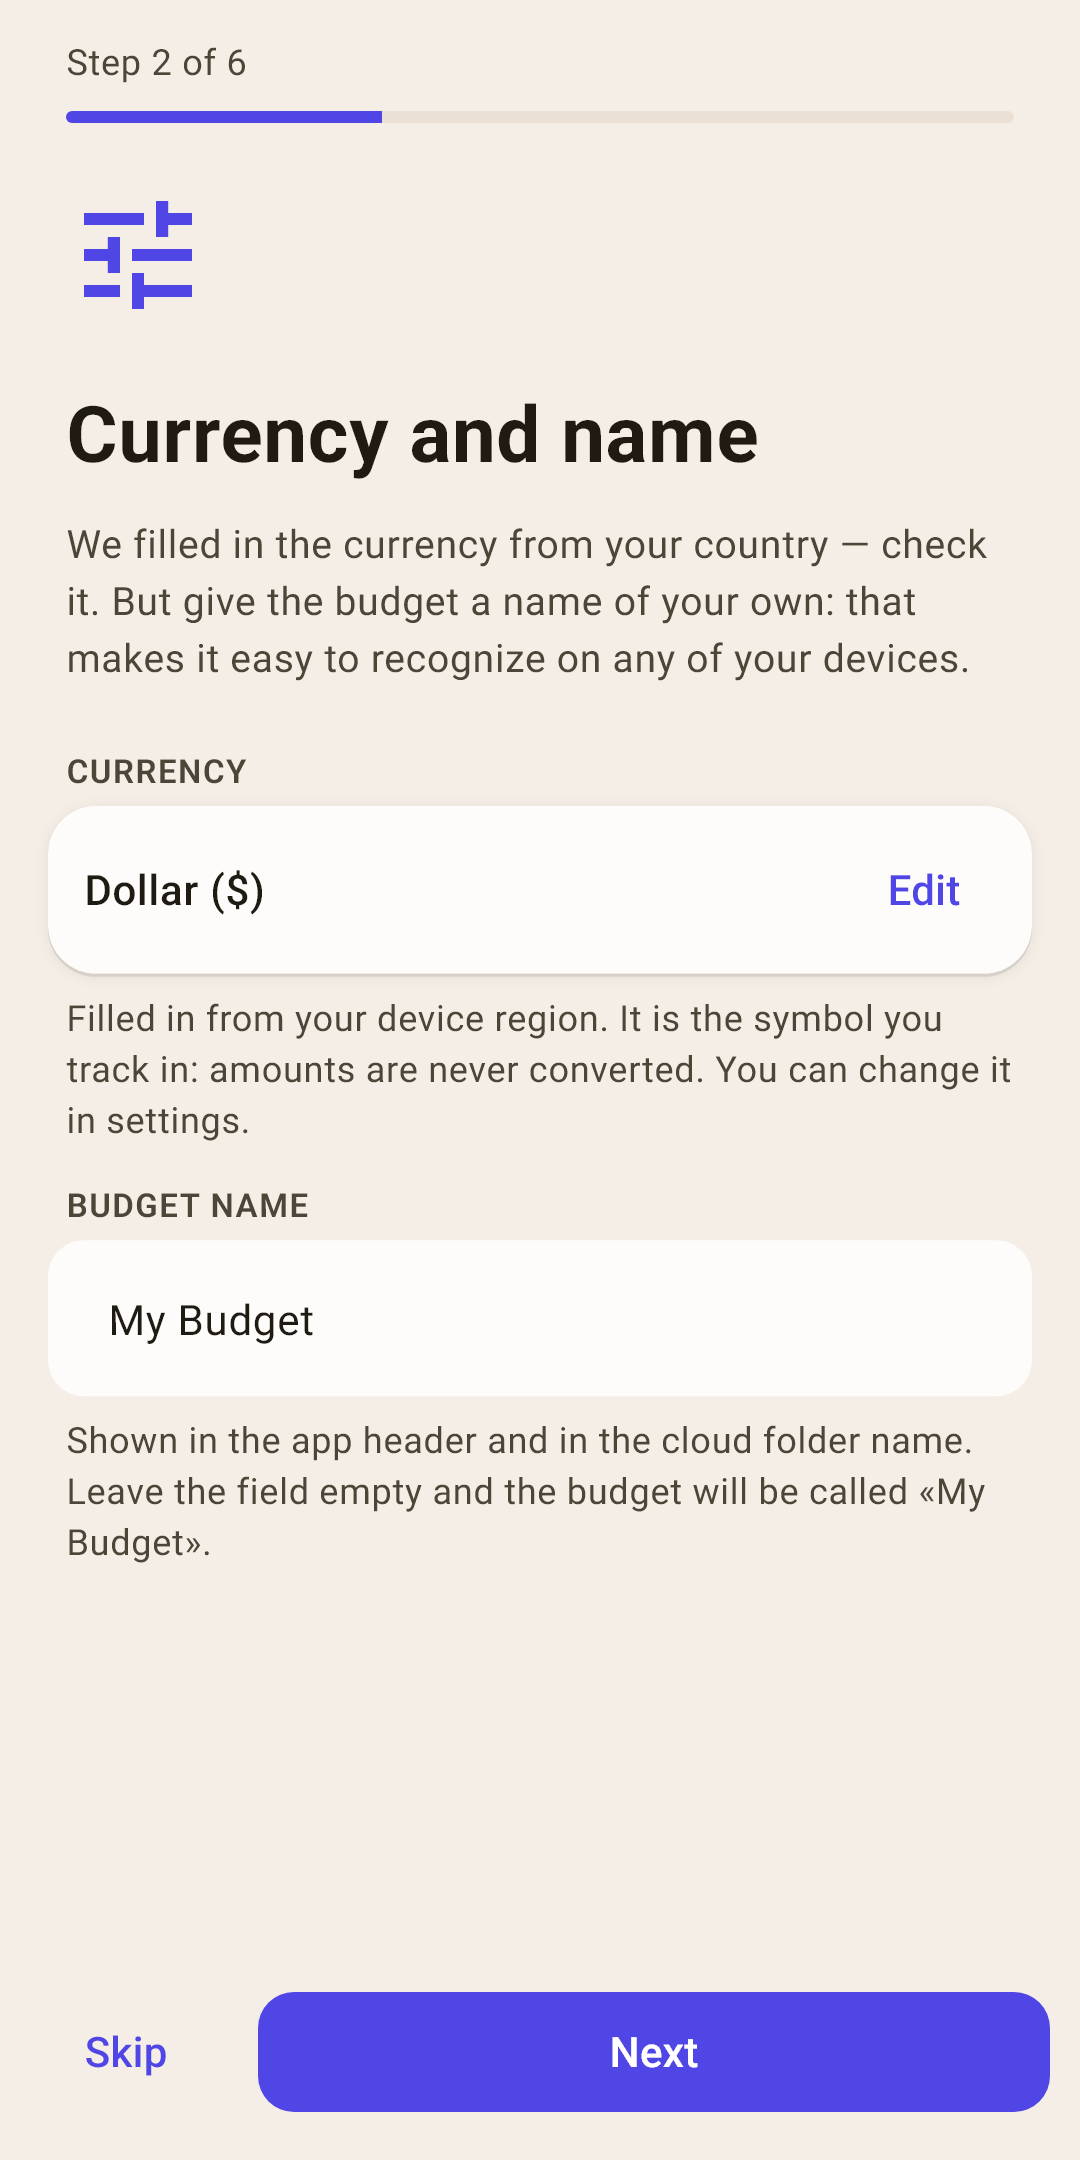
Step 2. Currency and name
The app fills in the currency from your phone's country — check it. This is the symbol you keep your budget in; the app doesn't convert amounts.
How it works
Come up with a name of your own: “Family”, “Personal”. Leave the field empty and the budget will be called “Main budget”. The name shows in the header and in the cloud folder name, so it's easy to recognize the budget on any device.
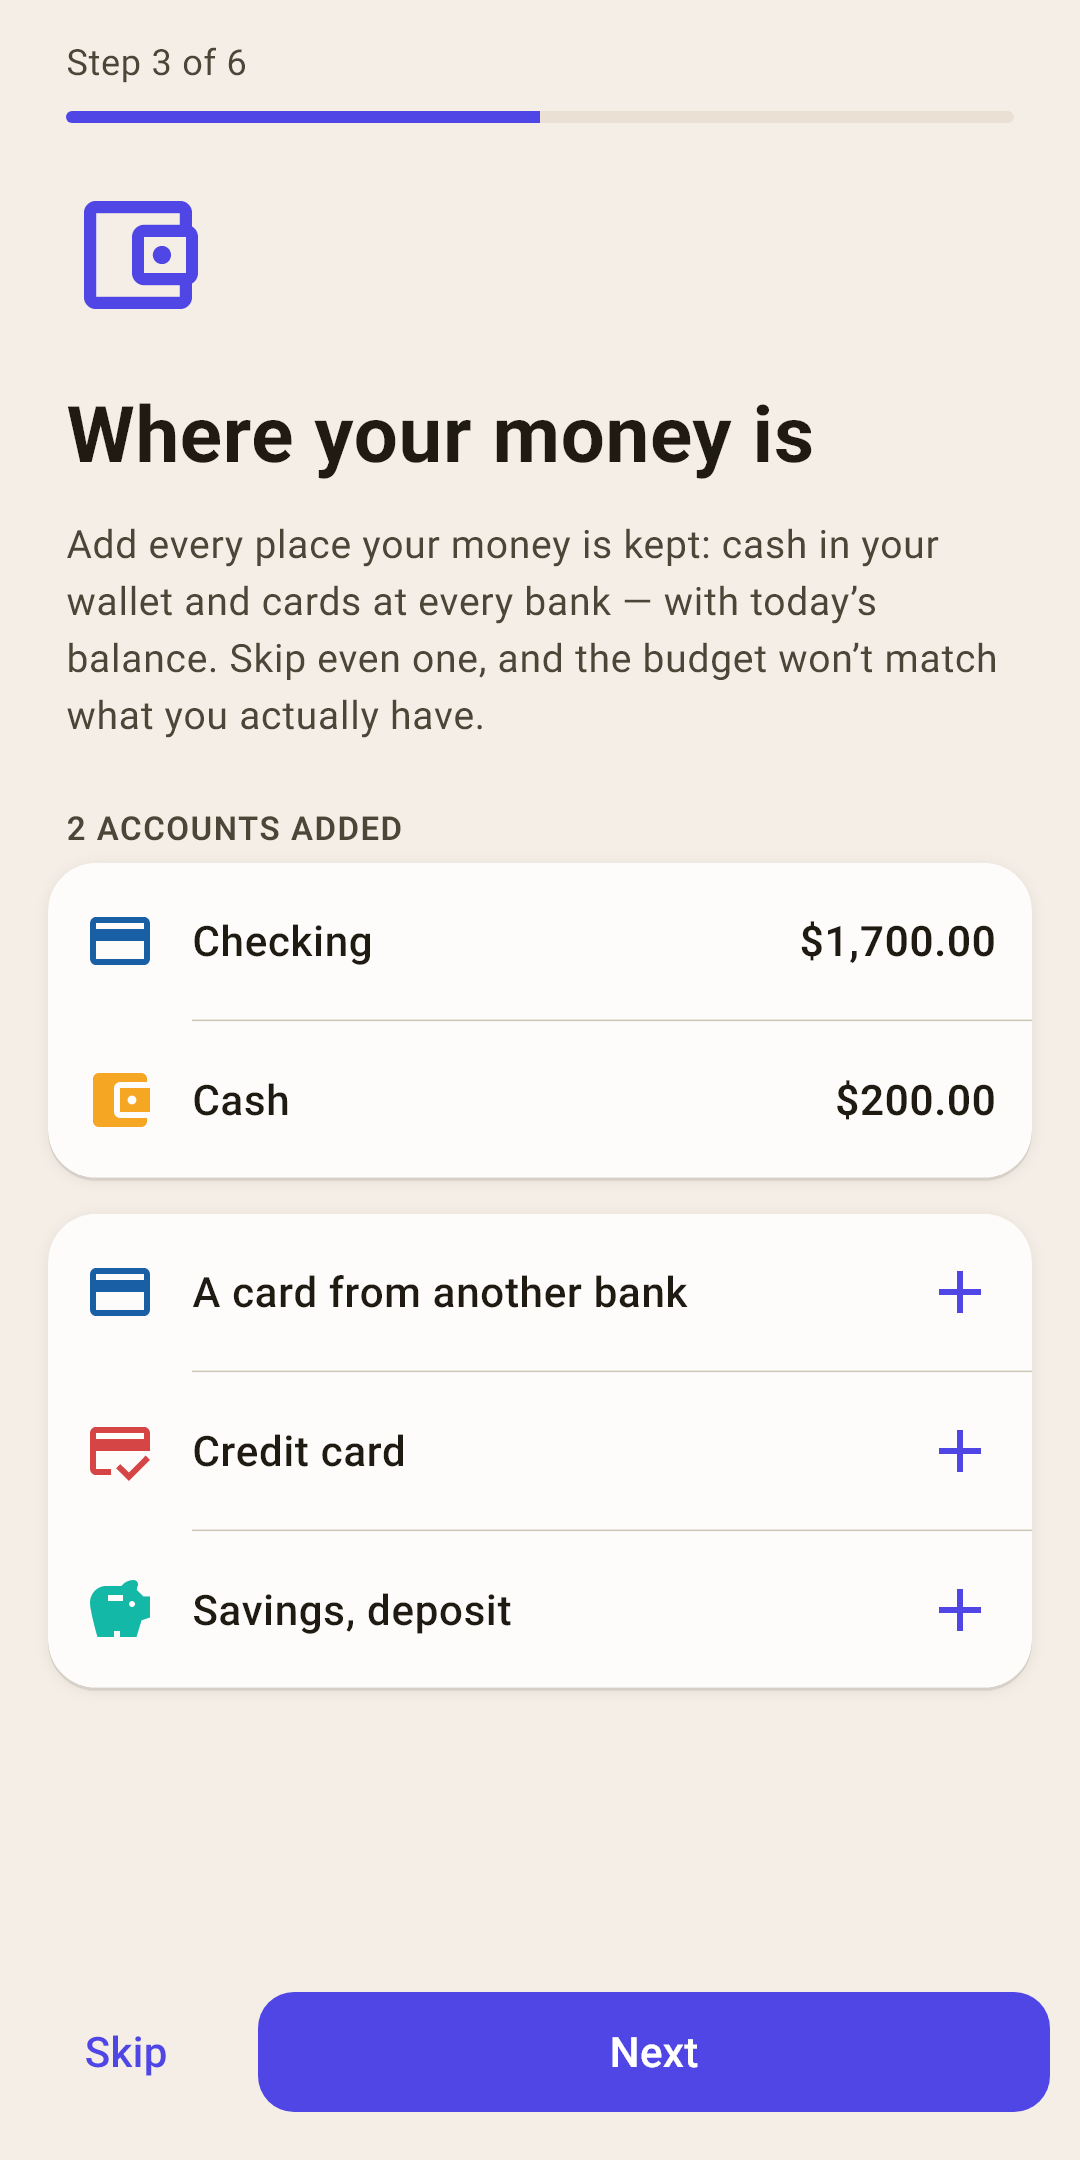
Step 3. Where your money is
Add every place you keep money, with today's balance: your wallet, cards at every bank, a credit card, savings.
How it works
Leave out even one card, and the budget won't match what you actually have. Tap “+” next to a matching template — the new account sheet opens with the type already chosen. The account balance goes straight into “unassigned” — in the screenshot, two accounts brought in $1,900. More about accounts in the article “Accounts”.
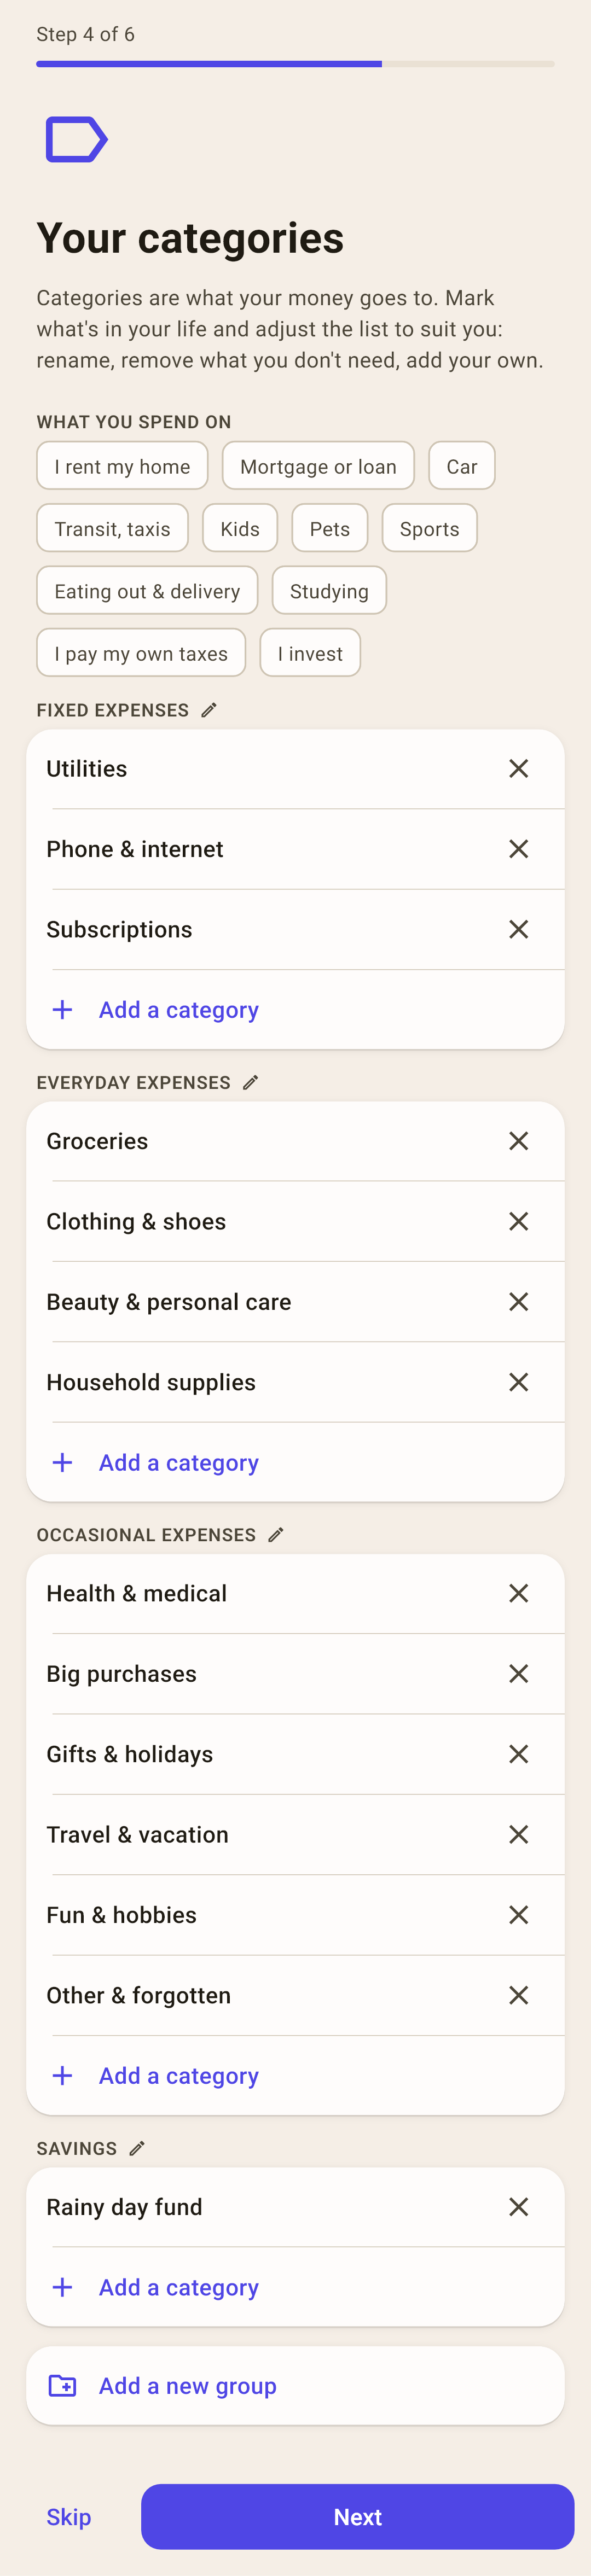
Step 4. Your categories
The “What you spend on” chips add the categories you need: “Car”, “Kids”, “Pets”. Below is the whole list, and you can adjust it to suit you.
How it works
tap a category to rename it;
the cross removes a category;
“Add a category” is in every group, “Add a new group” is at the bottom;
the pencil next to a group name — rename the group.
The screenshot shows the start of the list; it's longer.
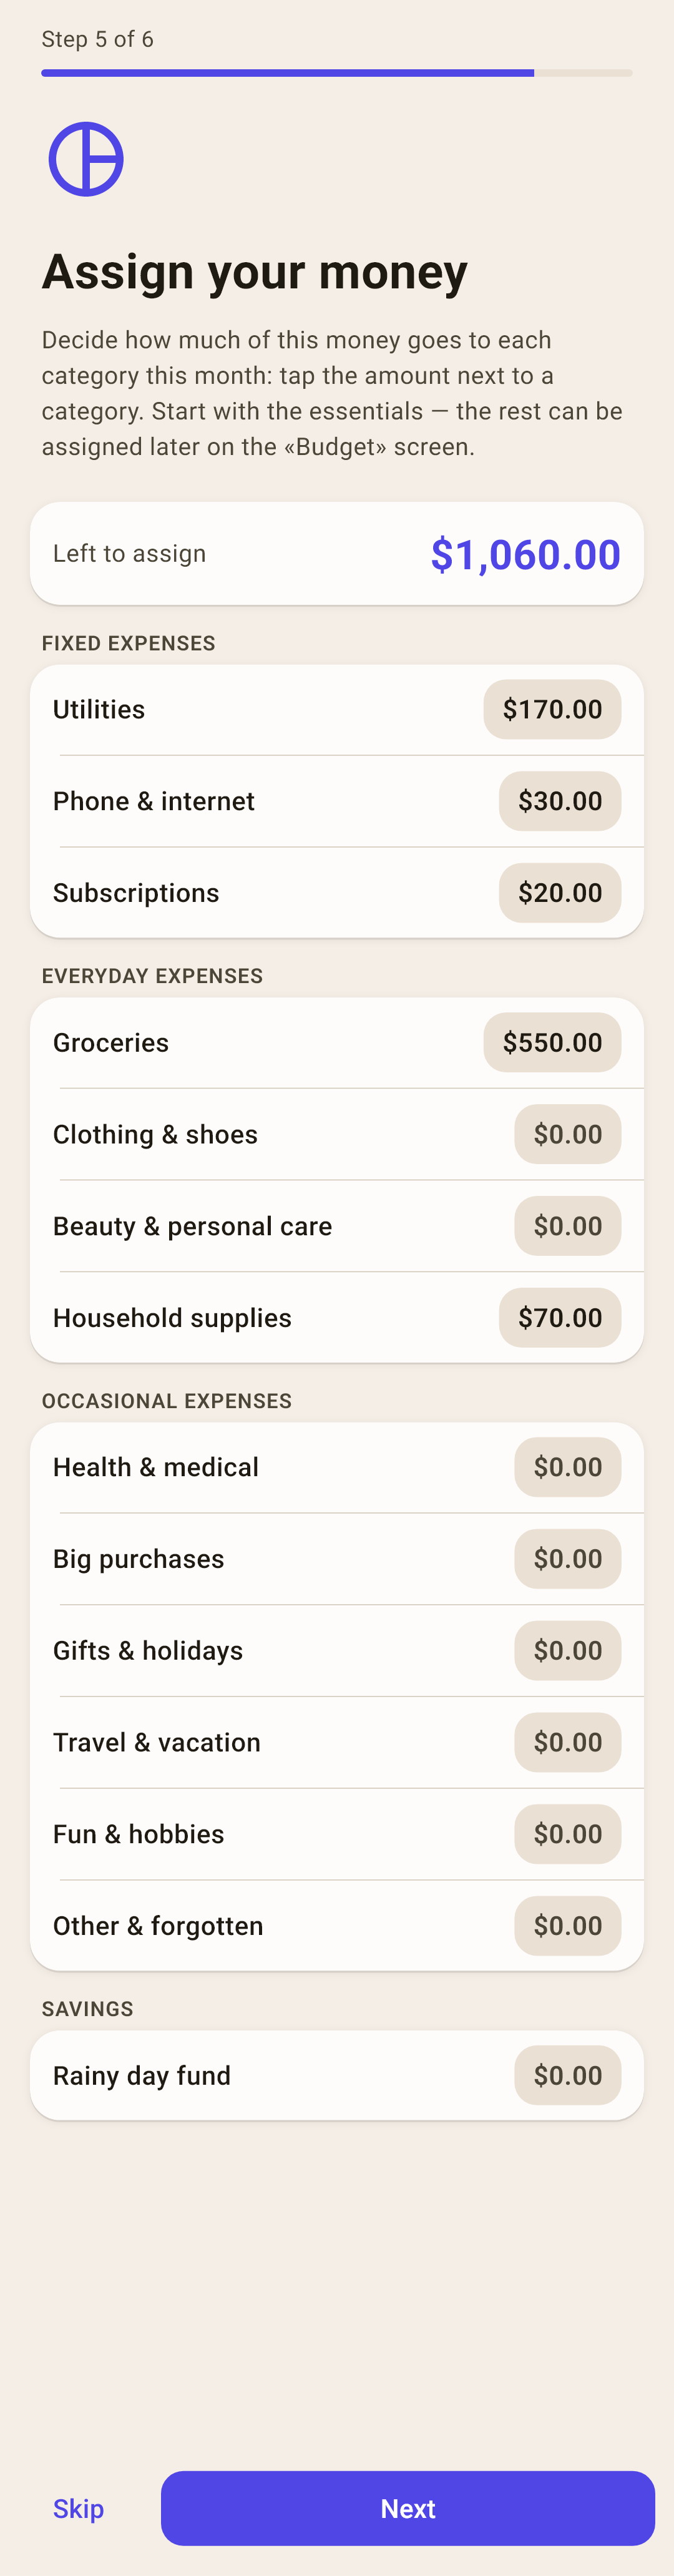
Step 5. Assign your money
Divide “unassigned” among the envelopes: tap the amount next to a category and enter how much you're ready to spend on it this month.
How it works
The top shows how much is left. In the screenshot, $840 is assigned and $1,060 is left. You don't have to reach zero here: start with the essentials — housing, food, phone — and assign the rest later on the “Budget” screen.
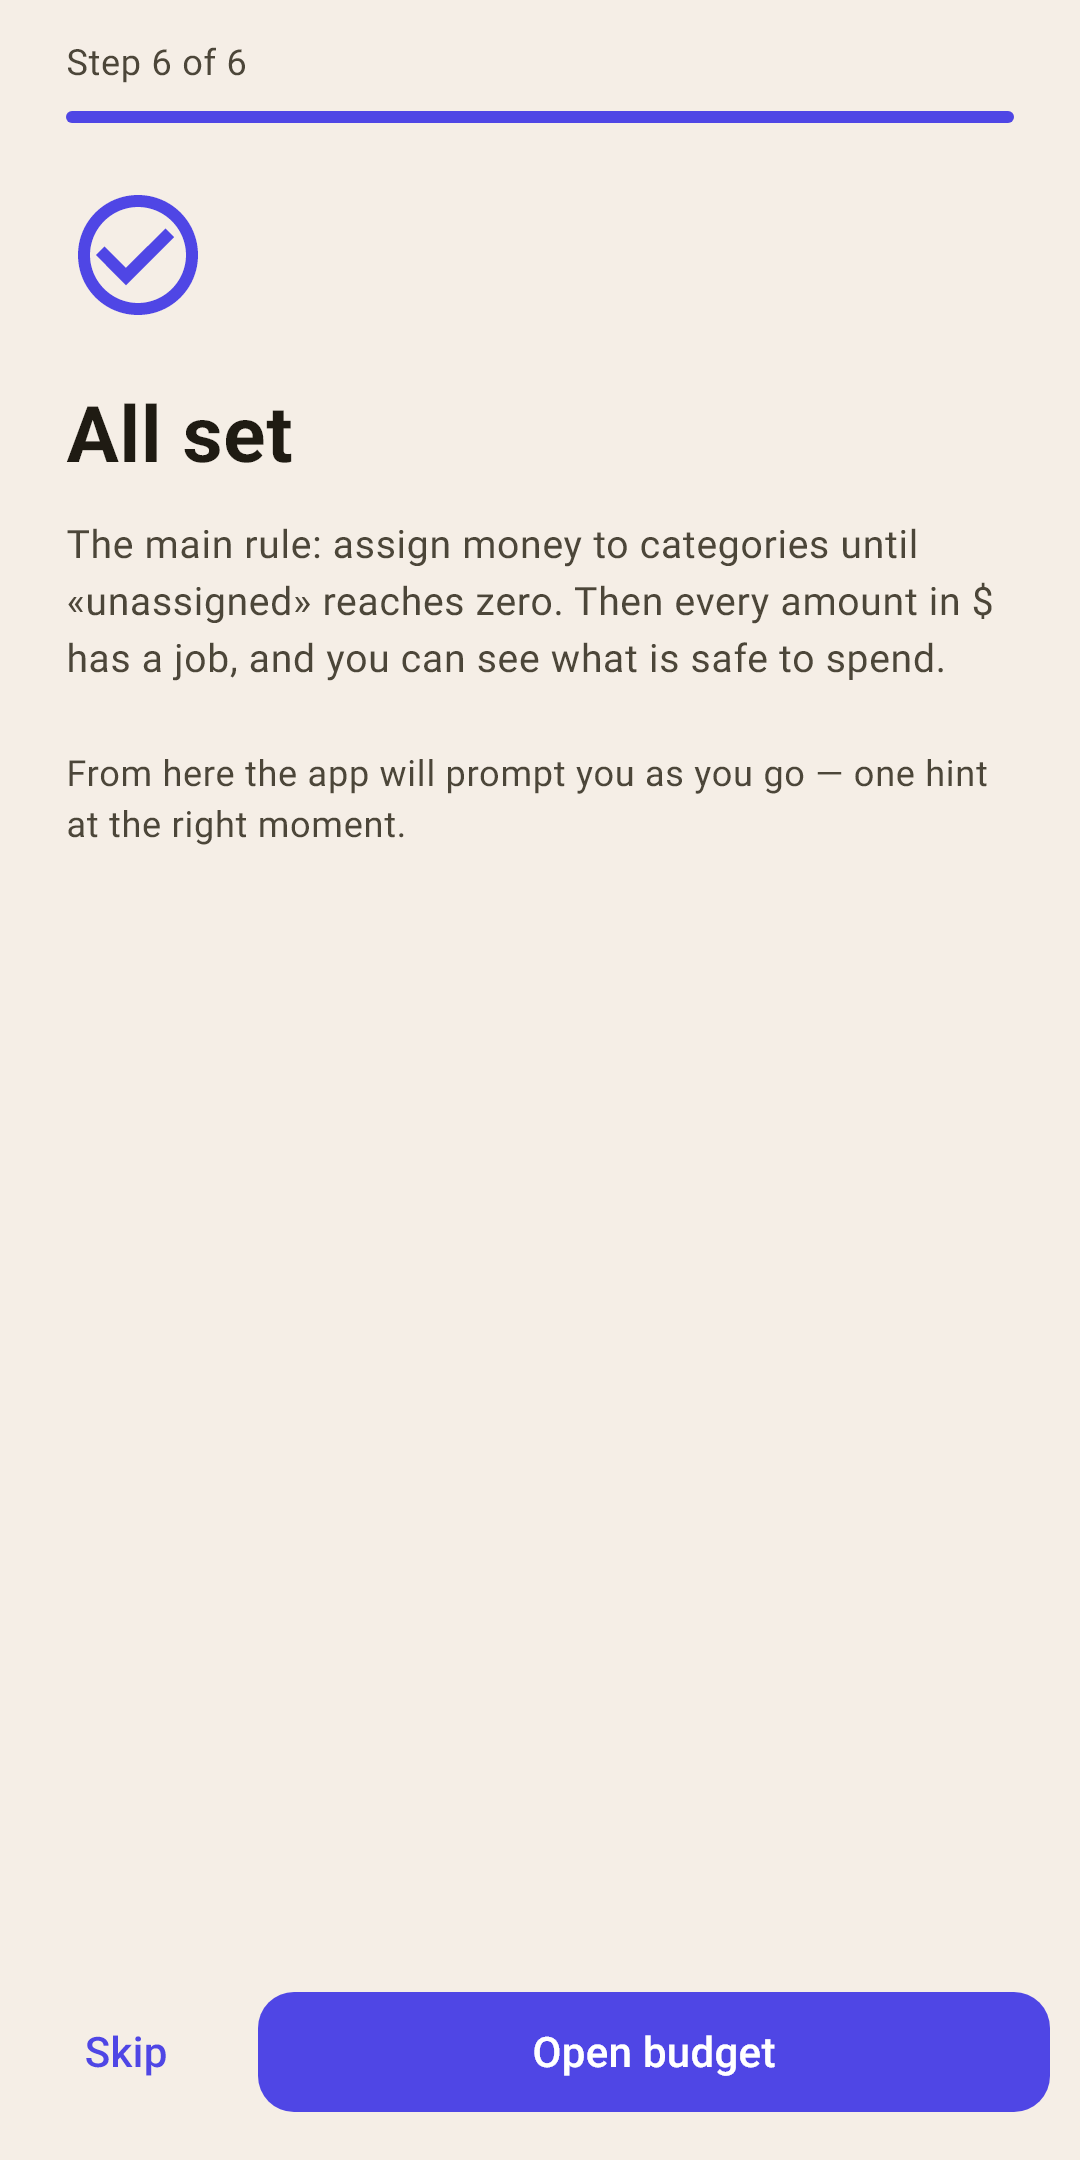
Step 6. All set
The main rule once more: keep assigning money until “unassigned” reaches zero.
How it works
“Open budget” takes you to the “Budget” screen. From there the app gives hints as you go — one hint at a time, when it's relevant.
After the wizard: the “First steps” list
A list card appears at the top of “Overview”. It holds what the budget needs before it can show the truth. The wizard counts what you've already done in it.
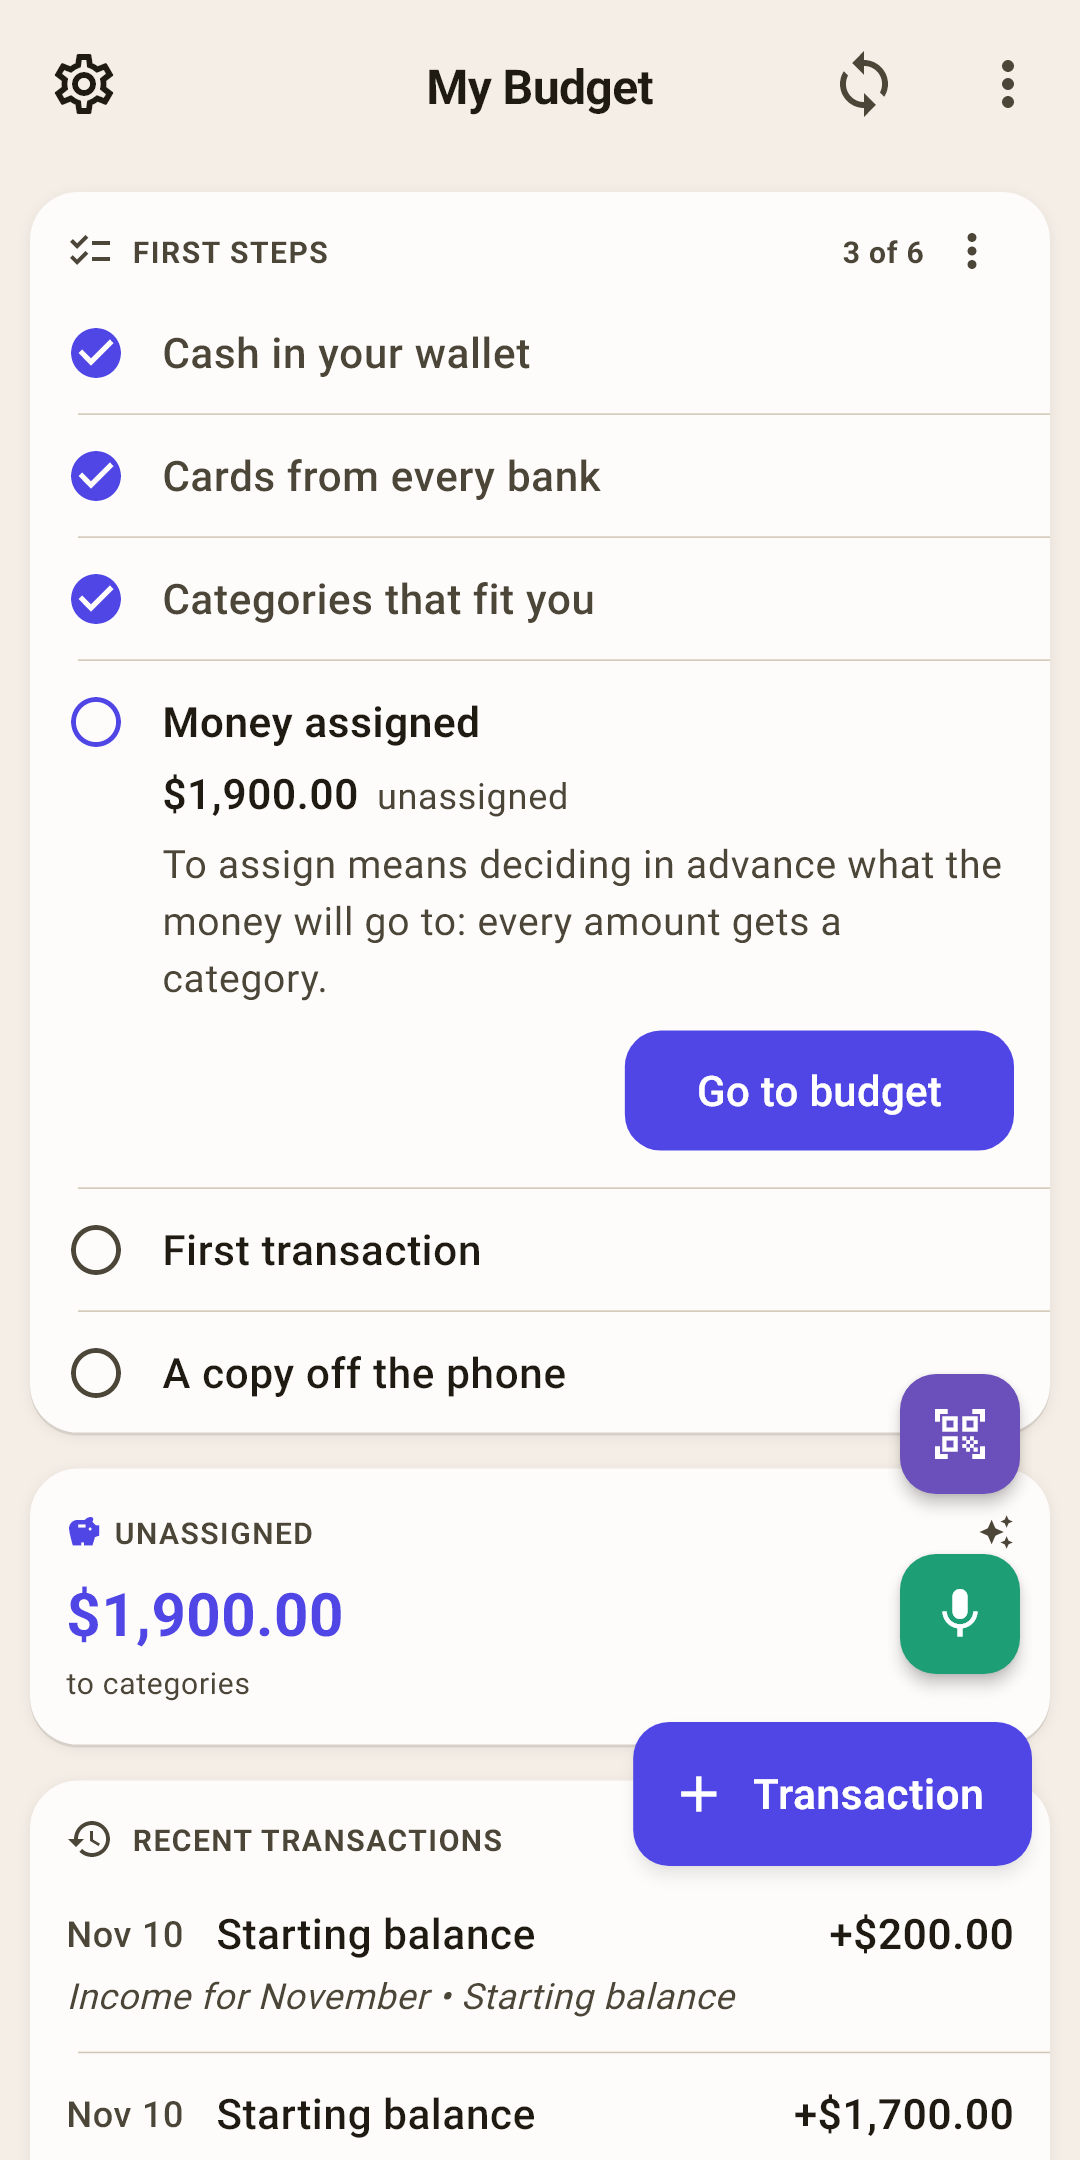
Cash in your wallet — Your wallet as a separate account. Cash is the first thing to go missing: without its own account, the budget drifts away from the money in your hands with the very first purchase. No cash? — “No cash”.
Cards from every bank — All cards and accounts are added. If you added them in the wizard, the item is already checked.
Categories that fit you — The category list is adjusted. Went through the categories step — it's checked. The button opens the same screen as in the wizard. A category that already has transactions isn't deleted by the cross but hidden: the transactions stay where they are.
Money assigned — “Unassigned” has reached zero. Until then, the item shows how much is left and takes you to “Budget”.
First transaction — You've recorded your first purchase — the budget has come to life. The button opens the form.
A copy off the phone — A cloud or a backup file. Lose your phone — and the budget isn't lost. Buttons: connect a cloud or “Backups”.
Done items get a check mark
At the top, “3 of 6”: how many are done. A finished item is a single line with a check mark.
One item is expanded
The first unfinished one — or the one you tapped. It says what to do and why.
The main button is a door
It leads straight to where the item gets done: the account form, “Budget”, the transaction form, cloud sign-in. Sometimes there's a second one next to it — your answer: “No cash”, “All added”, “Keep as is”.
Hide the list
Card menu → “Hide the list” (with “Undo” at the bottom of the screen). Once everything is done, the card says “Your budget is set up” — tap “Got it”.
How it works
While the list is open, the regular hints on “Overview” stay quiet — so the same thing isn't said twice. To bring all hints back: “Settings → Help & contact → Hints → Show hints again”.
If you moved from YNAB, the list is different: reconciling account balances with the bank, cash, assigning and a backup — the accounts and categories already came over in the file.
Your first month
Record every purchase — right away, at the checkout: “+ Transaction”, the camera for a receipt, or the microphone. Five seconds now instead of an evening with a bank statement later. No time? — “Inbox” (article “Transaction form”).
Money came in — divide it up. Every paycheck lands in “unassigned”; hand it out to the envelopes on the “Budget” screen.
An envelope turned red — move money from another one. That's normal: the first month always shows what you underestimated.
Once a week, reconcile your accounts with the bank — account menu, “Balance reconciliation” (article “Accounts”).
At the end of the month, look at “Overview”: “Where the money went”, “Month spending”. Next month you'll assign based on experience.